
Importing Master Parts
Overview
This guide outlines the step-by-step process for importing master parts into the system. Before importing master parts pricing data, all relevant parts must first be created within the Master Parts module.
Prerequisites
Before beginning the import process, ensure the following requirements are met:
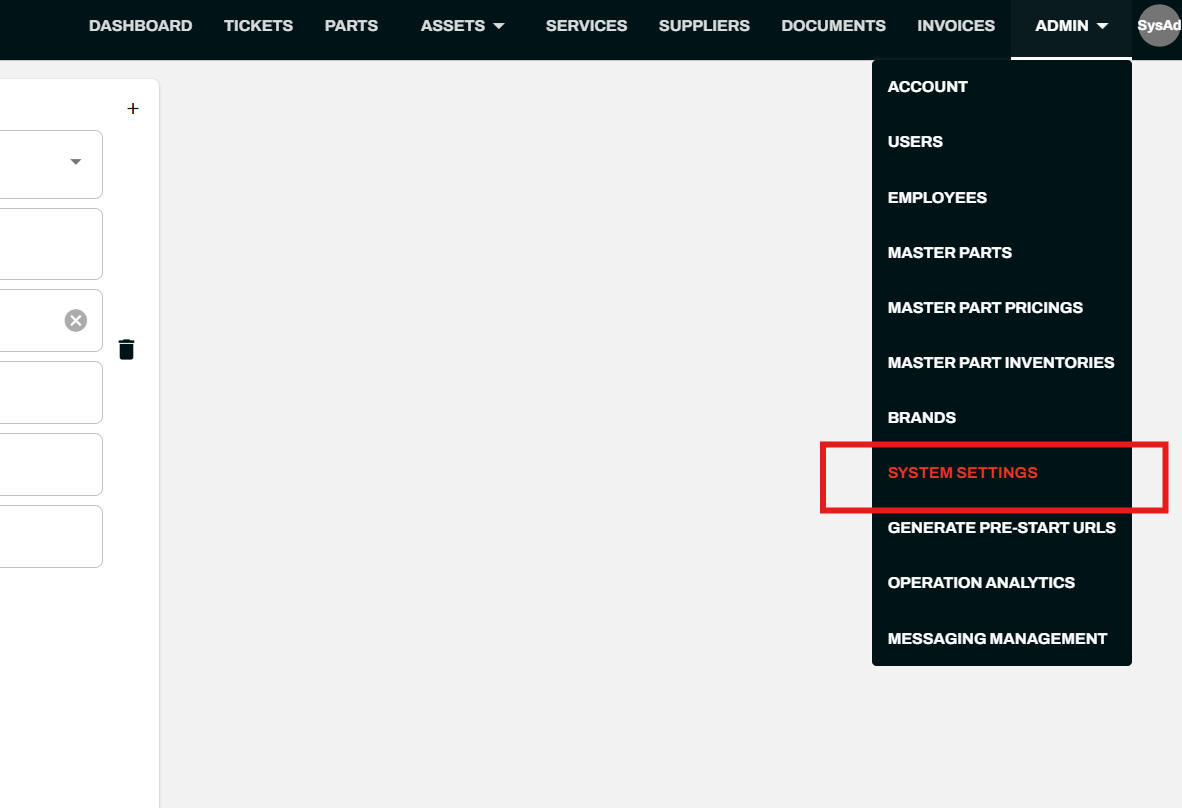
- Part Groups must be configured. Parts cannot be added to Master Parts without at least one Part Group defined in the system. Part Groups are managed under Admin > System Settings > Parts > Part Groups.
- Classifications must be established. Categories, Manufacturers, Brands, Paretos, and Channels should be set up in System Settings prior to import. Any classification values referenced in your import file must already exist in the system to avoid upload errors.
Step 1: Configure Part Groups
- Navigate to Admin > System Settings.
- In the left-hand navigation panel, locate the Parts section.
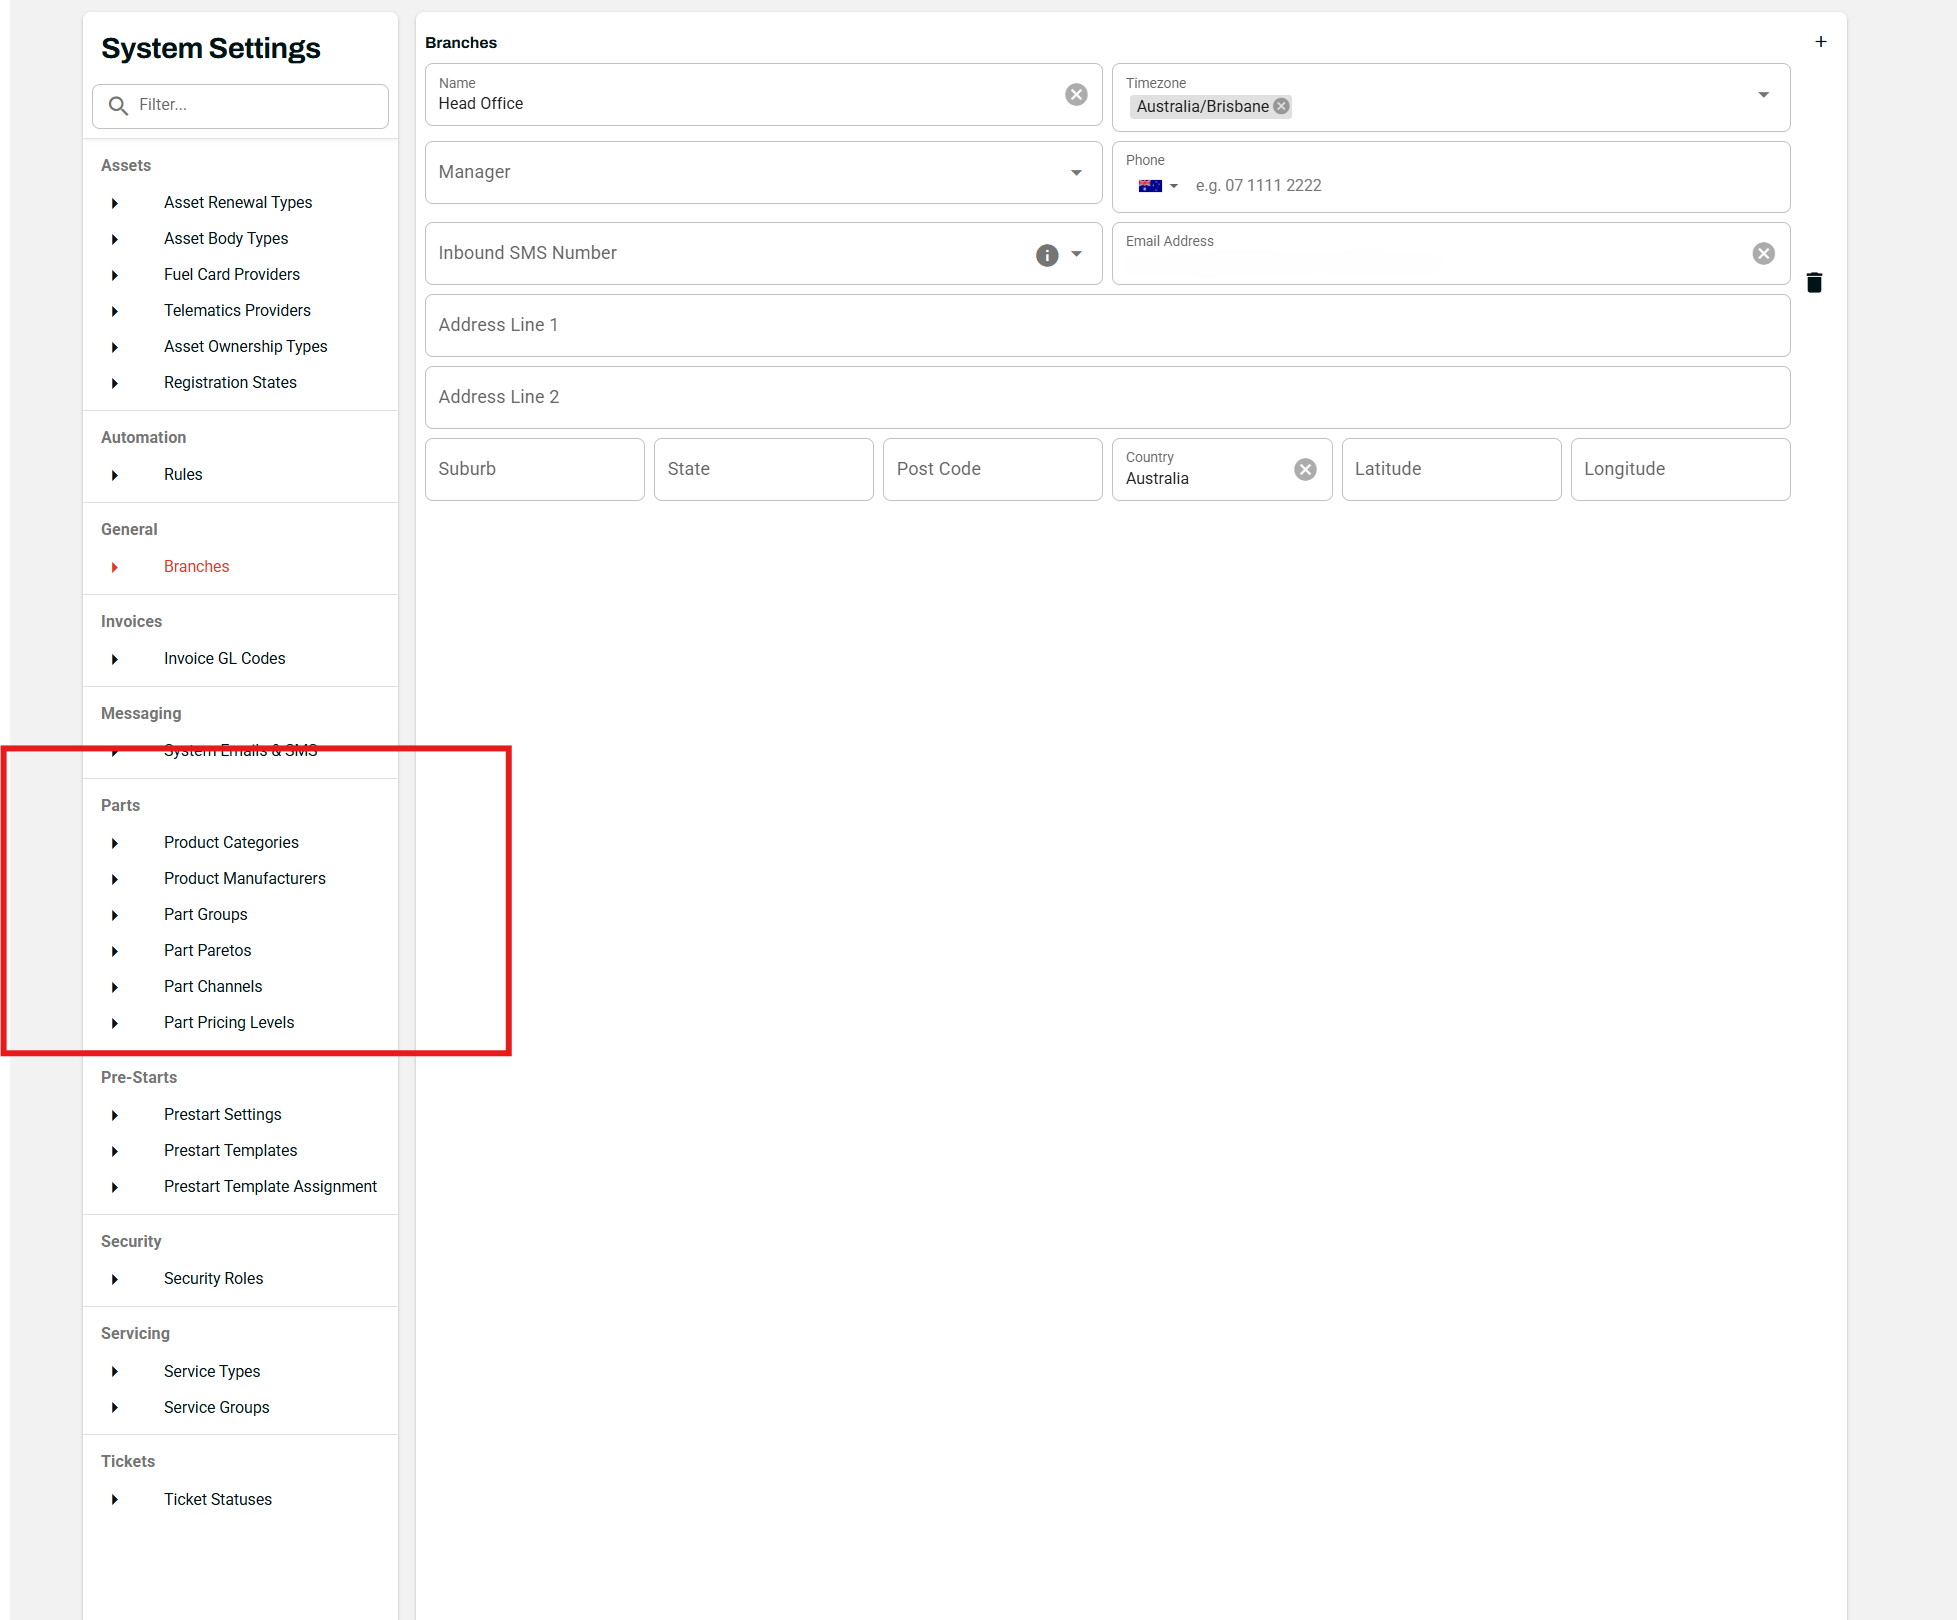
- Select Part Groups.
- Click the + button to add a new Part Group.
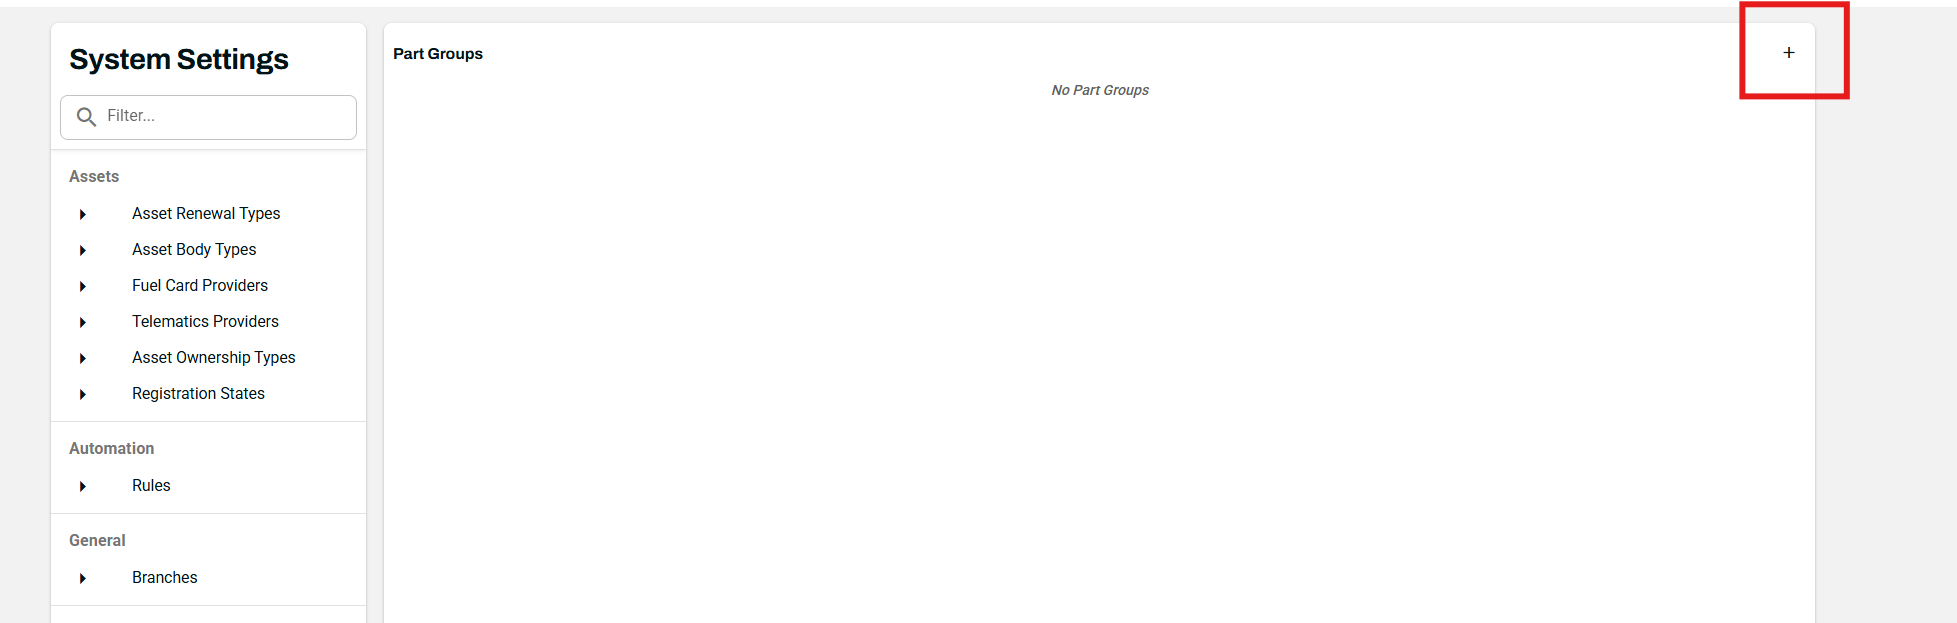
- Repeat as needed until all required groups are defined.
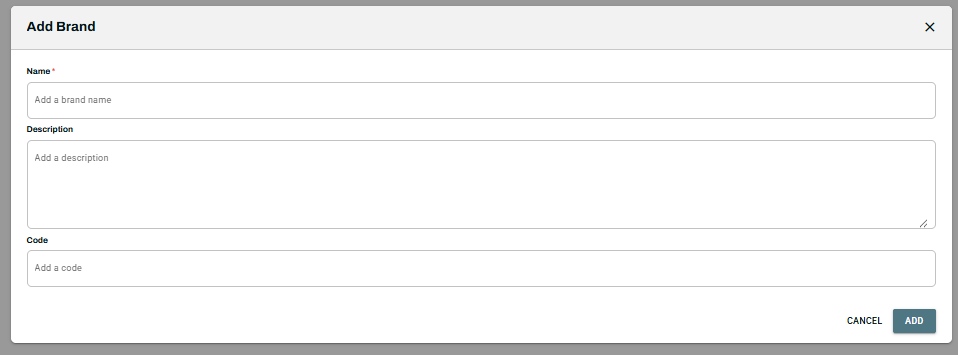
- You will also have to add Brands. Navigate to Admin > Brands.
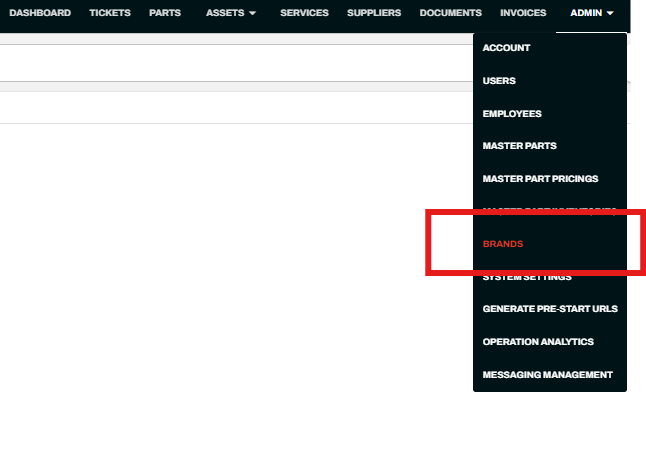
- Then Click the + button
- Fill in the fields:
Important: You cannot proceed with adding parts until at least one Part has been created.
Step 2: Add an Initial Part Manually
- Navigate to Admin > Master Parts.
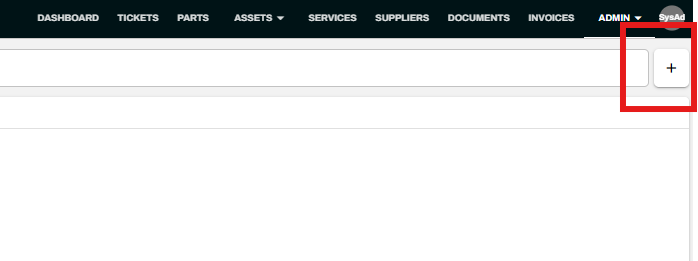
- Click the + button in the top-right corner of the parts list.
- In the Add Master Part dialog, complete the following required fields:
- Part Number — Enter a unique identifier (e.g., RCA268P).
- Group — Select the appropriate Part Group from the dropdown.
- Description — Provide a brief description of the part.
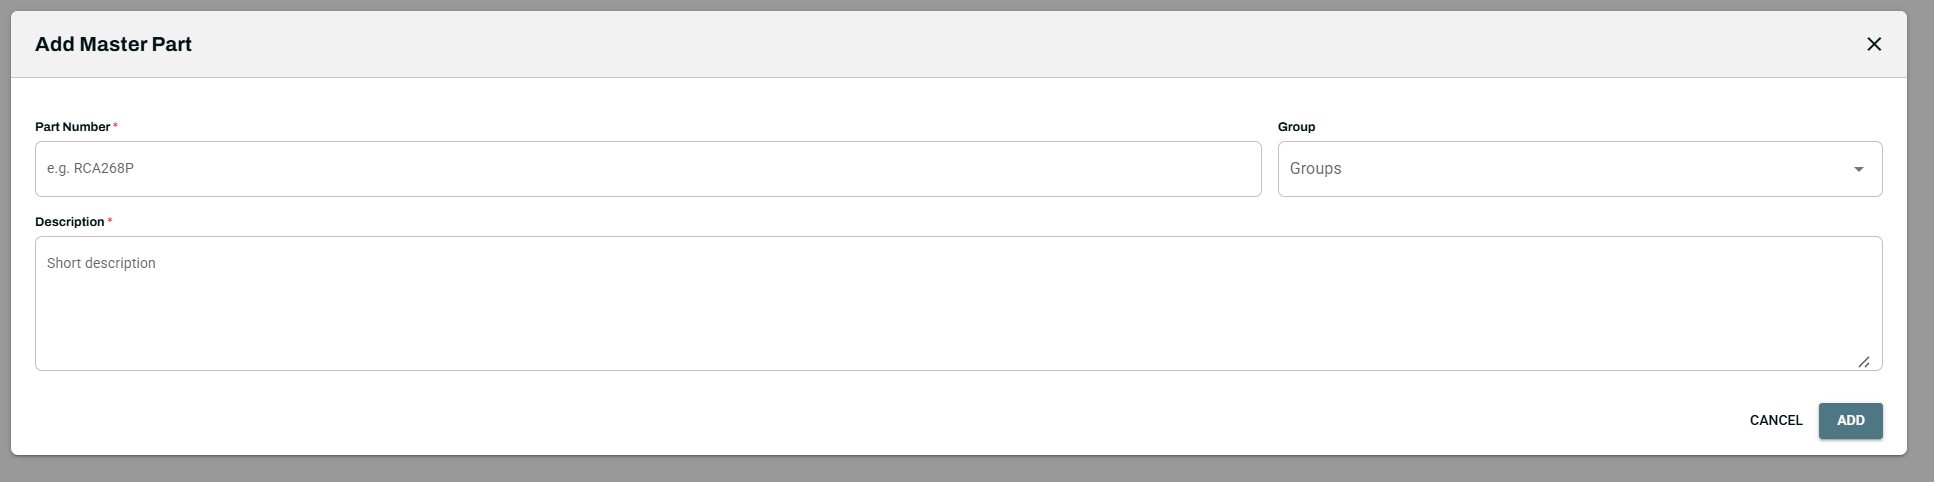
- Click Add to save the entry.
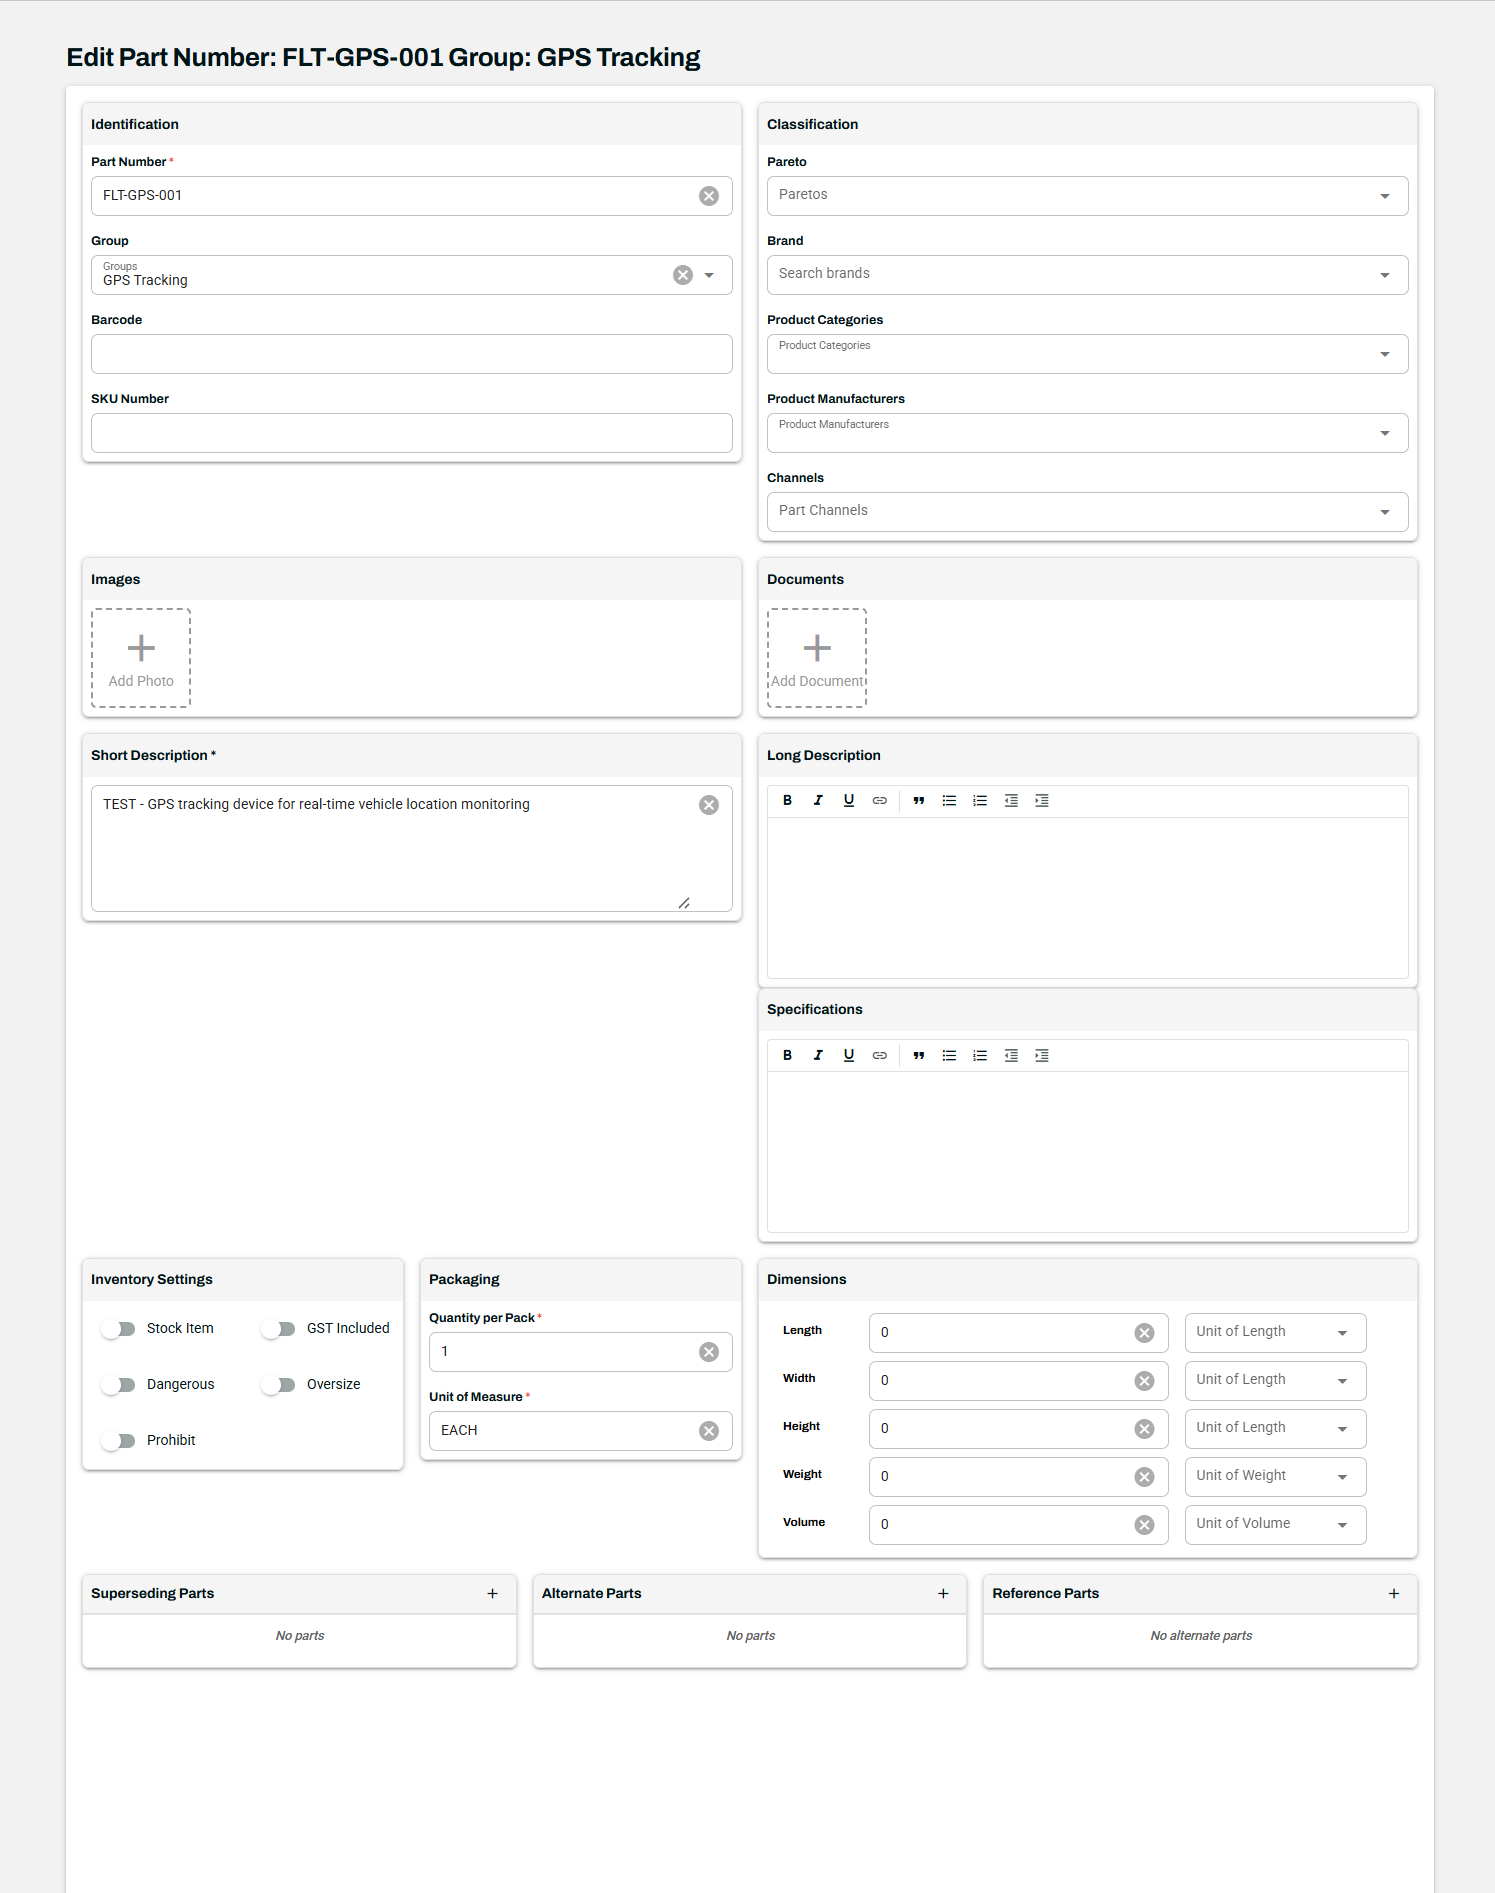
Once the part has been saved, you can edit it to populate additional fields, including:
- Identification: Part Number, Group, Barcode, SKU Number
- Classification: Pareto, Brand, Product Categories, Product Manufacturers, Channels
- Descriptions: Short Description, Long Description, Specifications
- Media: Images and Documents
- Inventory Settings: Stock Item, GST Included, Dangerous, Oversize, Prohibit
- Packaging: Quantity per Pack, Unit of Measure
- Dimensions: Length, Width, Height, Weight, Volume (with associated units)
- Related Parts: Superseding Parts, Alternate Parts, Reference Parts

Note: Classifications such as Categories, Manufacturers, Brands, Paretos, and Channels can be configured under Admin > System Settings.
Step 3: Import Parts in Bulk
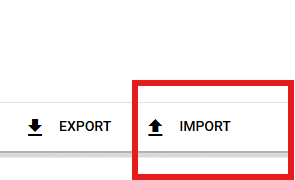
Once at least one part has been manually added, the Export and Import buttons become available at the bottom of the Master Parts page.
Download the Import Template
- Click the Import button at the bottom of the Master Parts page.
- In the Master Parts Import dialog, click Download Import Template.

- Open the template file and populate each row with the relevant part data.
Prepare the Import File
- Make sure all classification values (Brands, Categories, Manufacturers, Groups, Paretos, and Channels) match entries that already exist in the system exactly as they appear.
- Mismatched or undefined classification values will cause errors during the upload process.
- Save the completed template as an Excel file in .xls or .xlsx format.
Upload the Import File
- Click the Import button at the bottom of the Master Parts page.
- Select Import Master Parts.

- Review the handling options and notes displayed in the import dialog. These settings determine how the system processes rows containing values not currently defined in the system for each classification type (Part Group, Manufacturer, Part Category, Brand, and Part Channel).
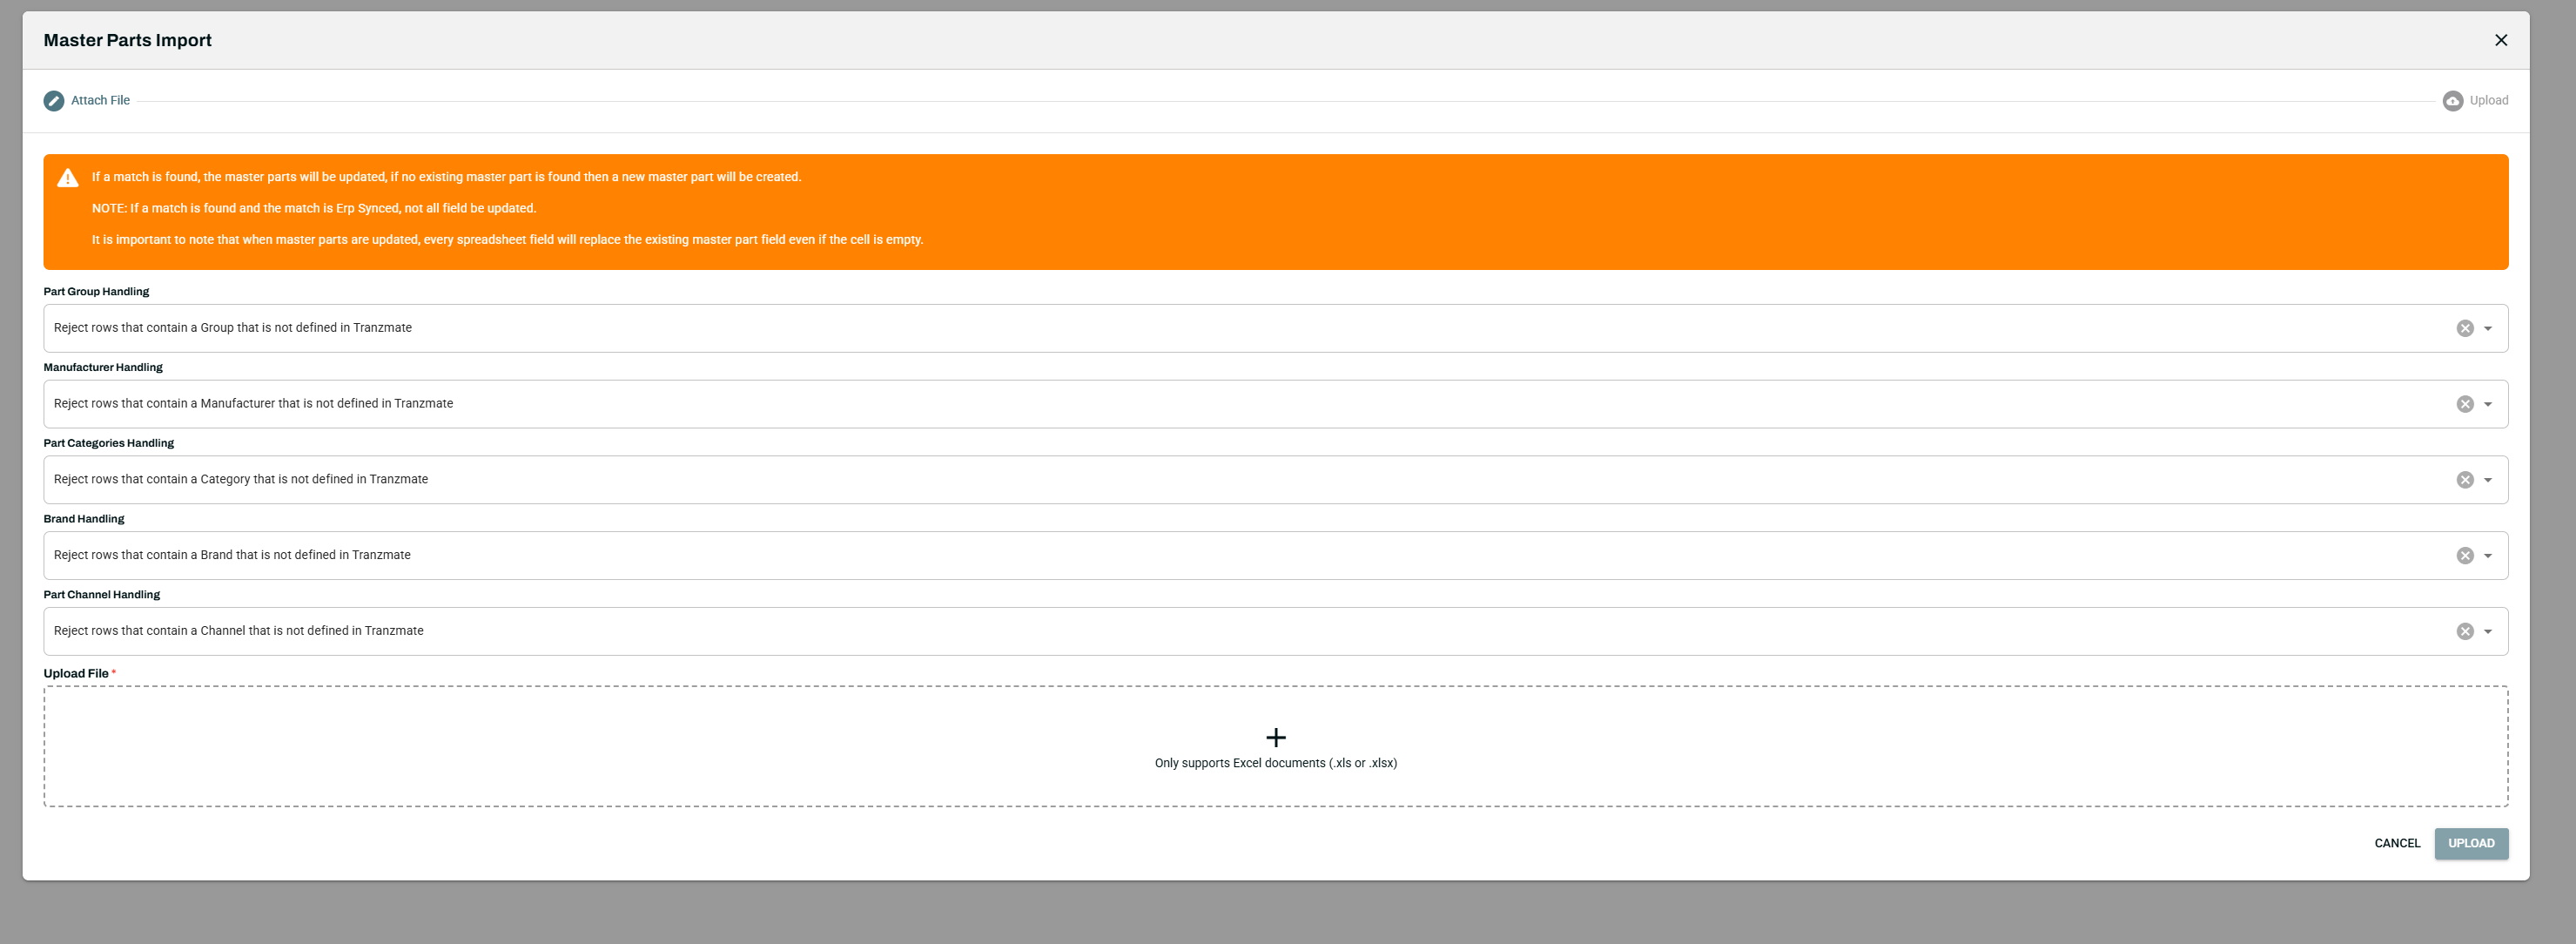
- Attach your file by either dragging it onto the + upload area or clicking the area to browse for the file on your computer.
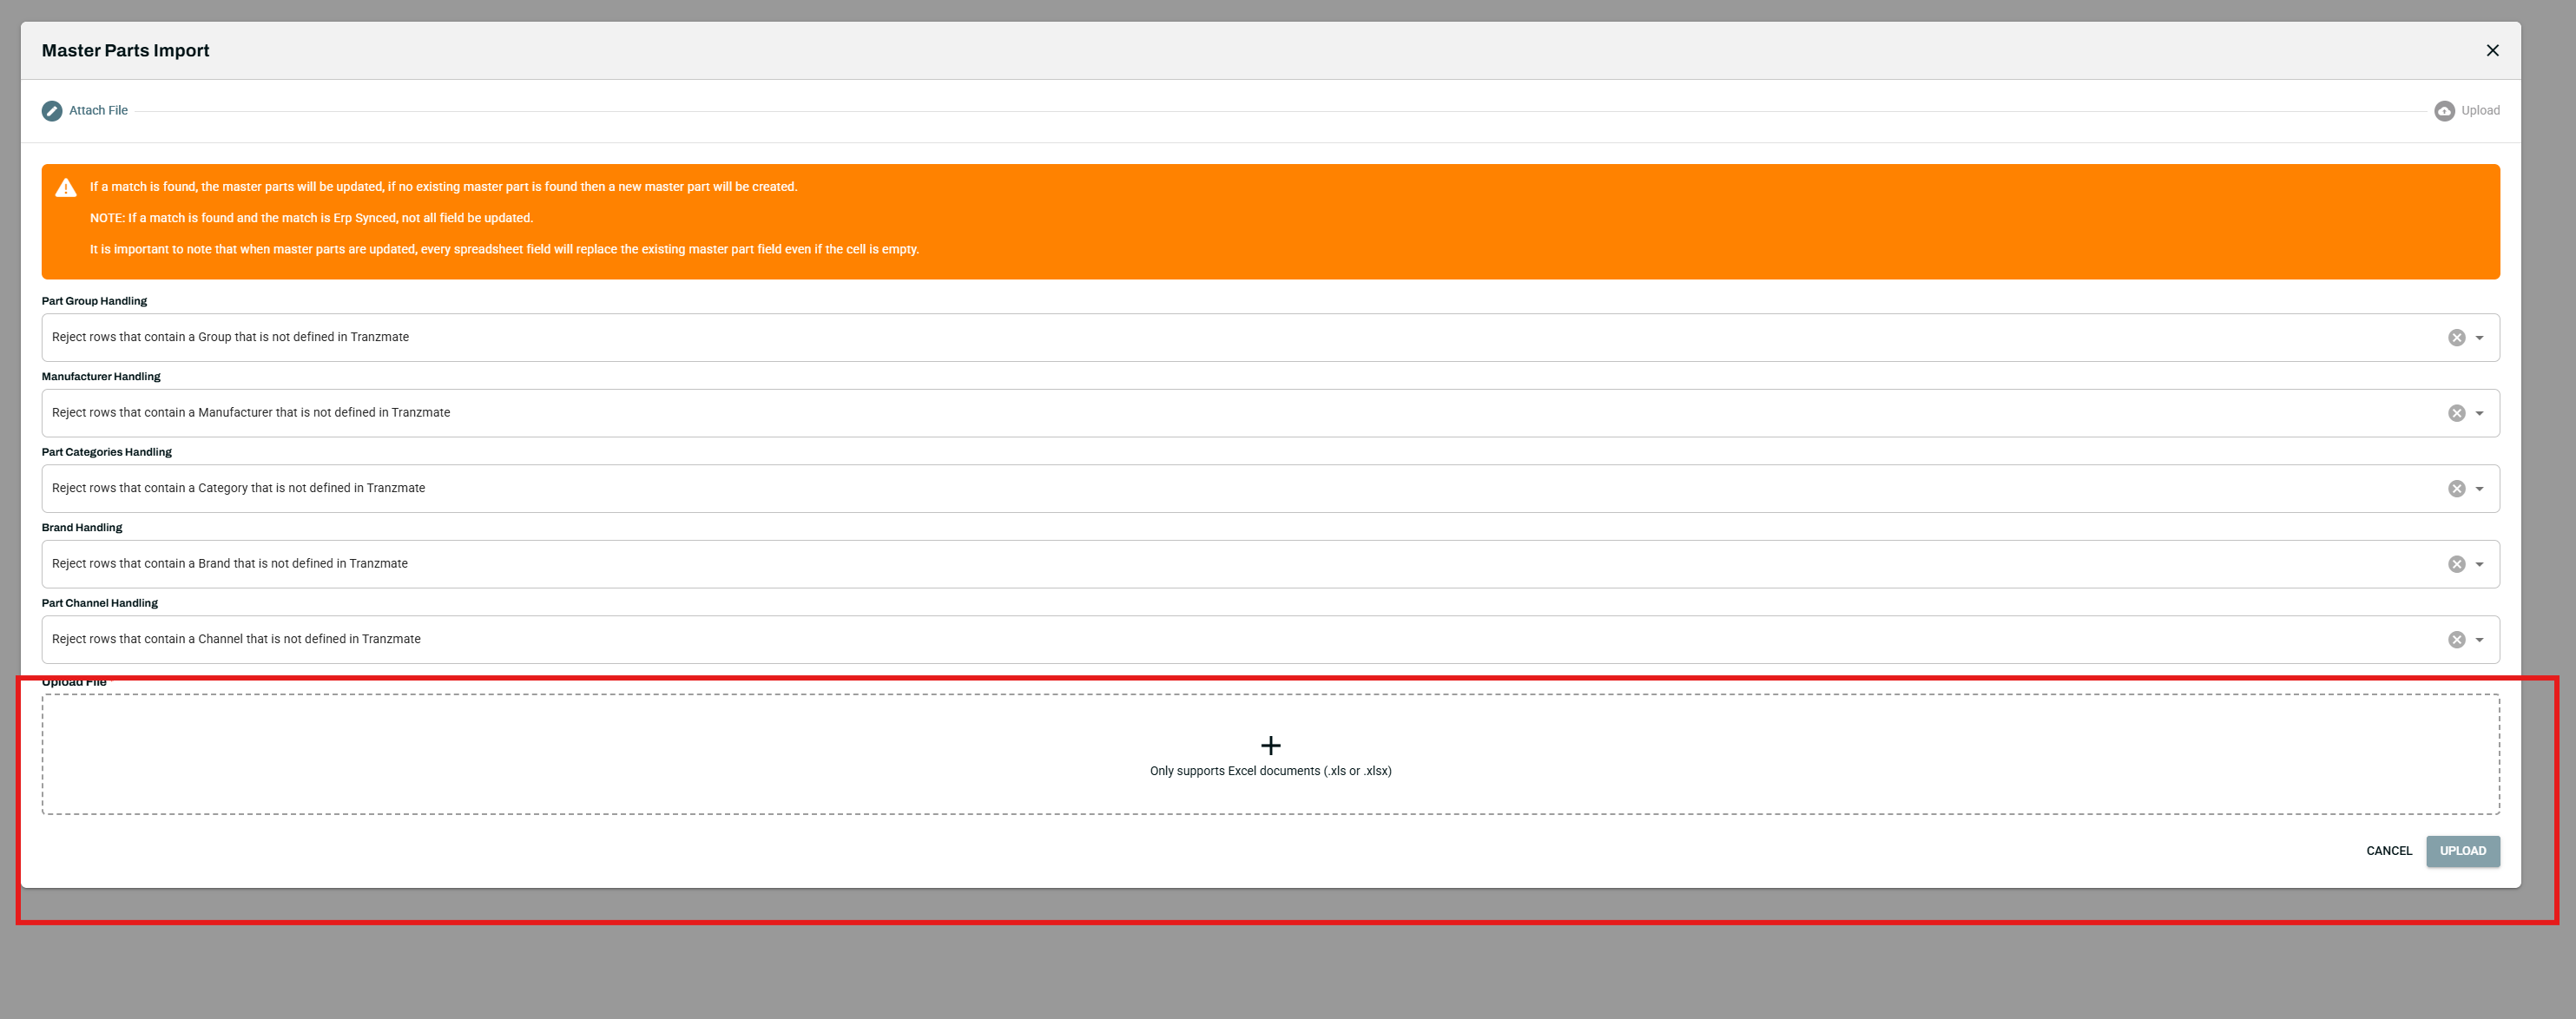
- Click Upload to begin the import.
Important: Only Excel file formats (.xls or .xlsx) are supported for import.
Step 4: Verify the Import
- Upon successful upload, the system will display the total number of records imported along with a summary of each row's status.
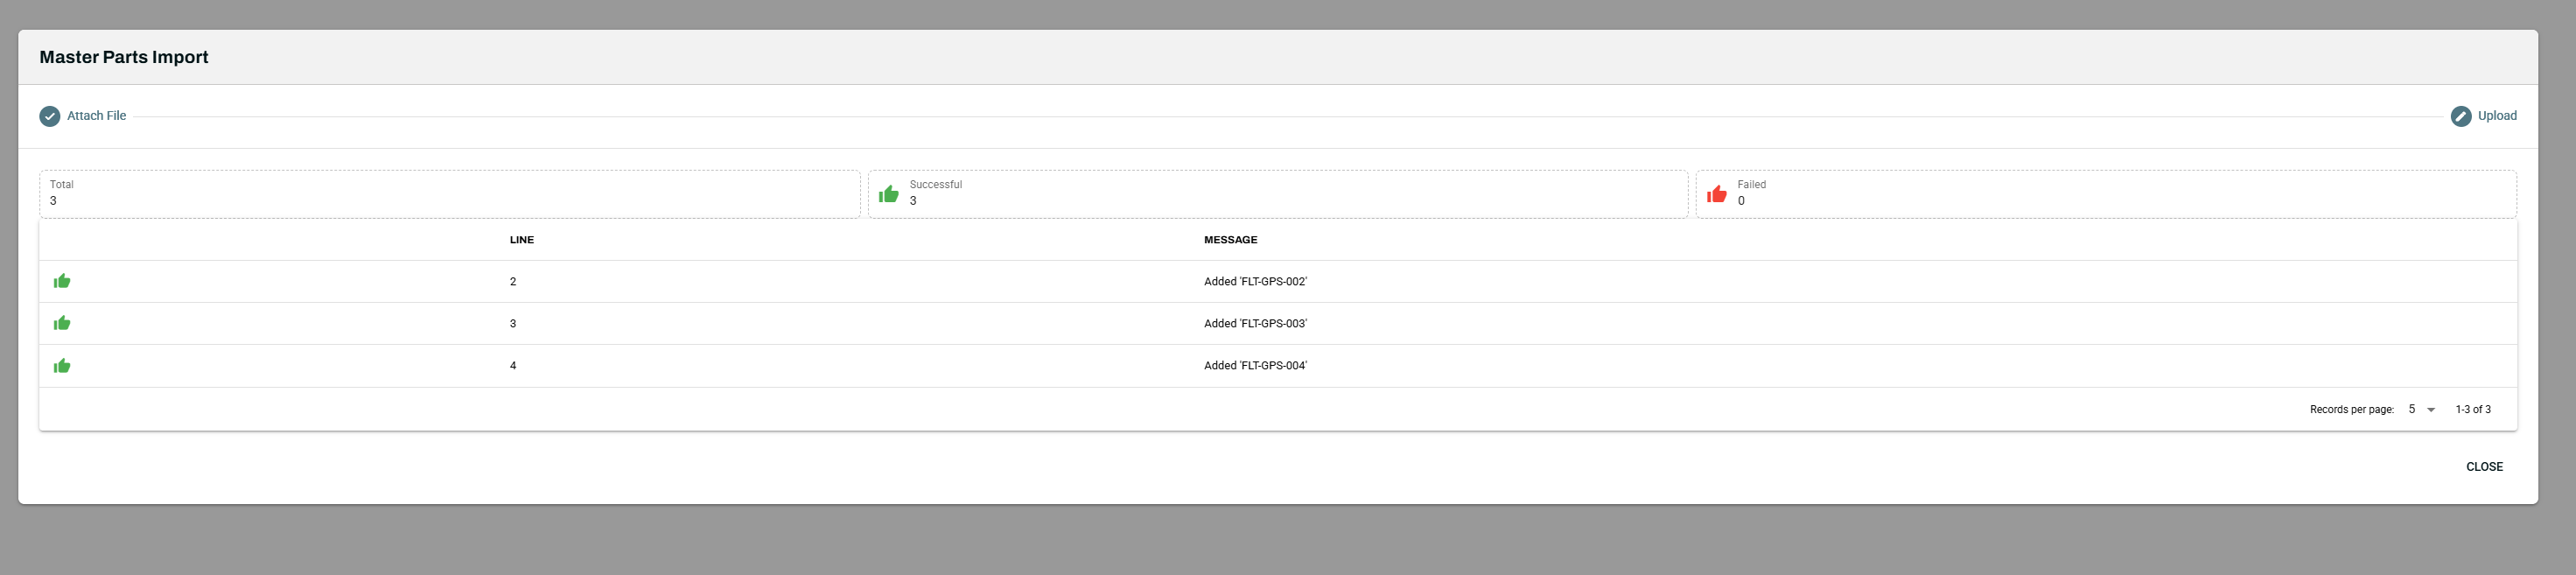
- Refresh the Master Parts page to confirm the imported data appears correctly in the parts list.

Tips
- If the upload fails, verify that all classification values in your file exactly match those configured in System Settings.
- Confirm that the file is saved in a supported Excel format (.xls or .xlsx).
- Review the import dialog notes carefully, as the handling settings for undefined classifications may reject or skip certain rows.