Using Assets
The Assets tab allows you to efficiently manage your asset and asset fleet. It acts as a central hub for your fleet's information, where you can easily access details of each asset, such as ownership and driver information. It also consolidates various data, including invoices, parts, servicing records, and more, creating a single repository for all asset-related information in your fleet.
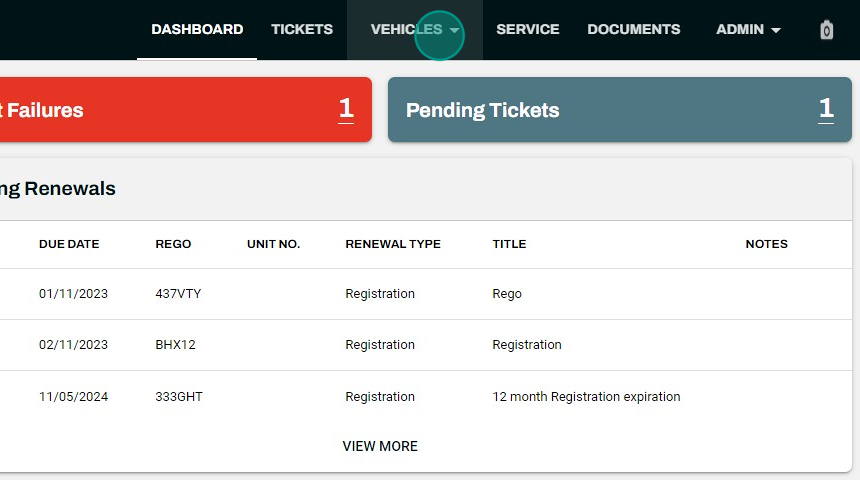
To access Assets, simply click on Assets in the top navigation bar.
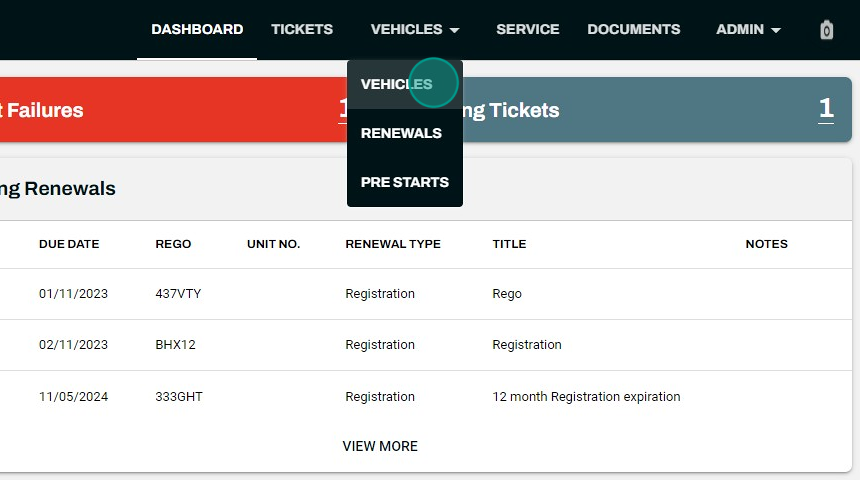
Select Assets in the dropdown.
Search and Filter Assets
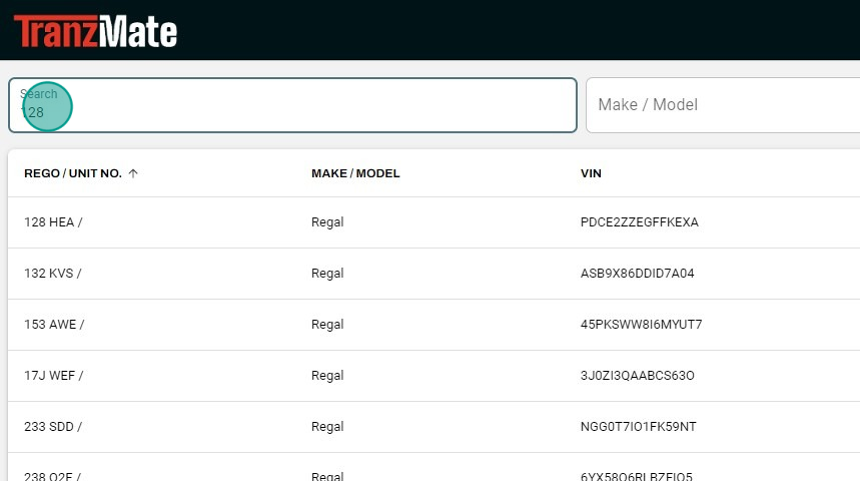
- Easily search through your assets by entering your unit number, registration, make/model or VIN number in the Search bar.
- Or use the Filter option for a more unique search query - allowing you to sort through your assets by Display Name or Last / Next Service Date.
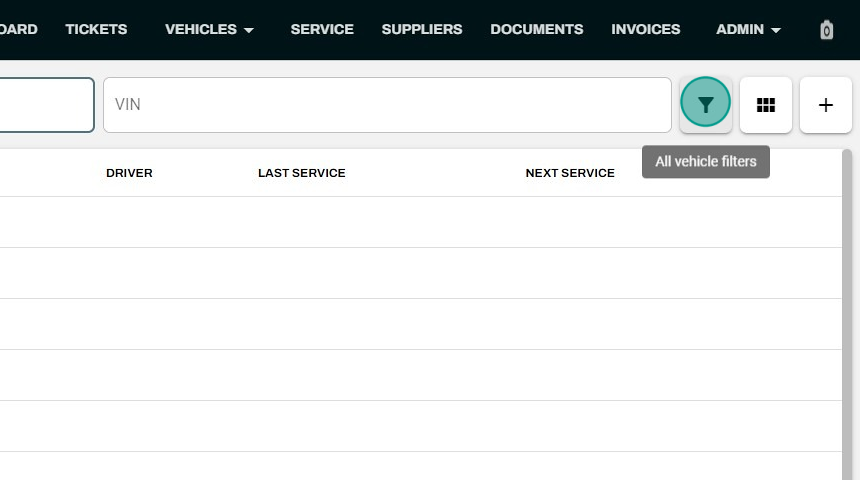
- Switch between Table or Grid View to suit your needs.
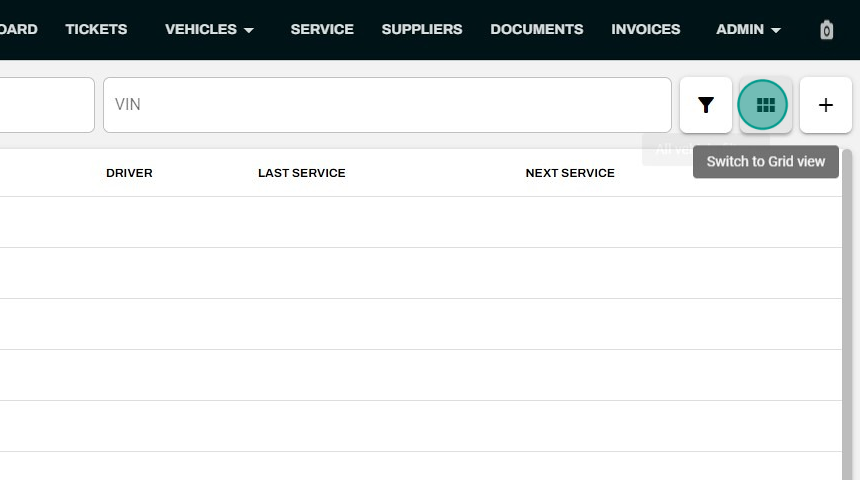
Add a New Asset
- Navigate to Assets on the top navigation bar
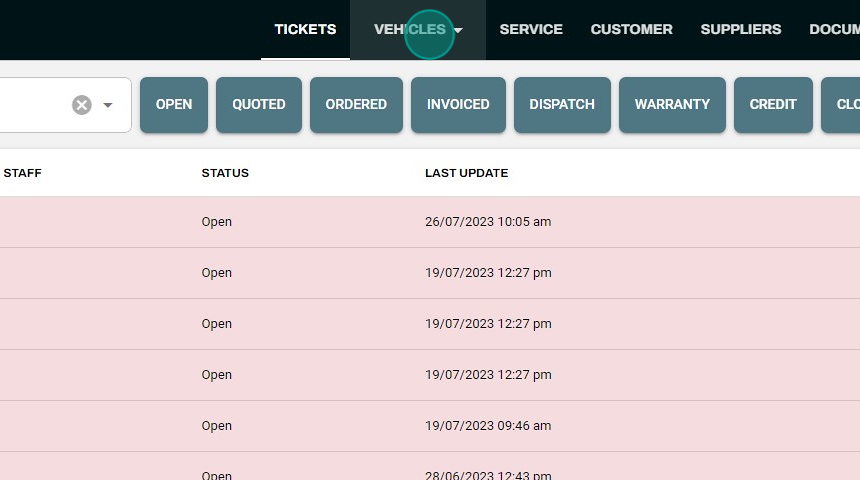
- Click the + button located on the top far right above the asset grid/table
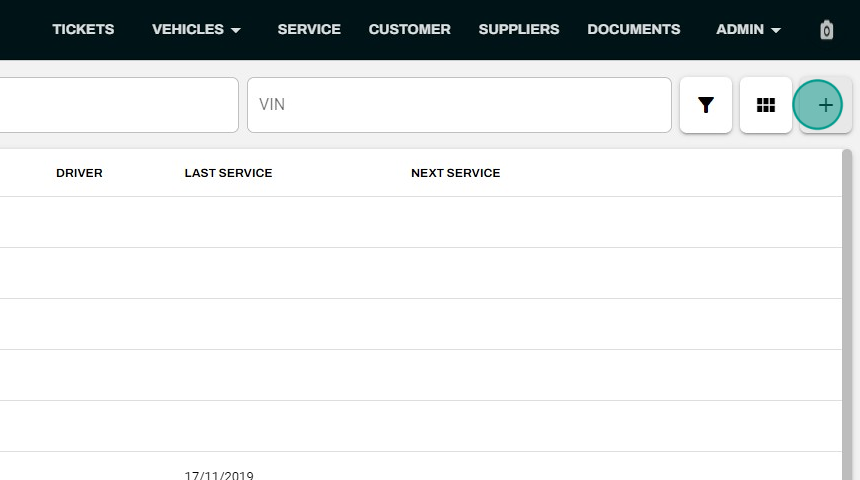
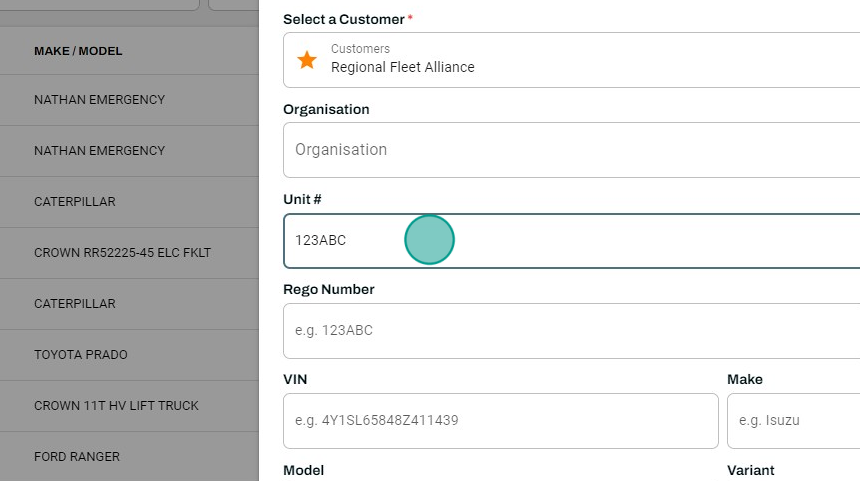
- The Add New Asset dialog should appear
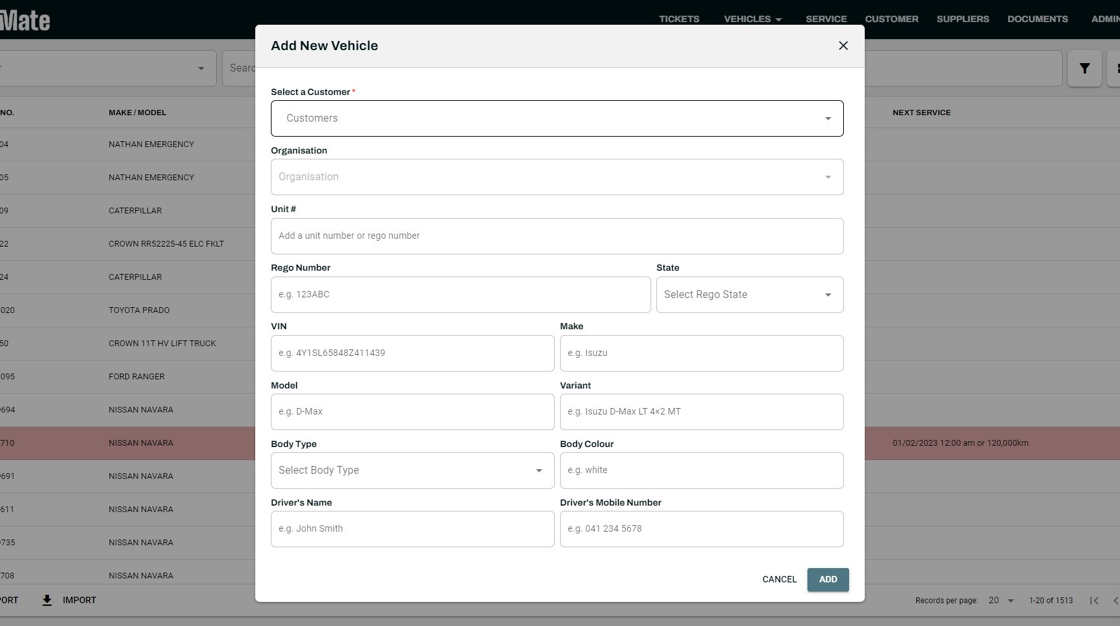
- Fill in the asset's details where necessary for easier identification (You only are required to fill in the Unit # and Rego number)
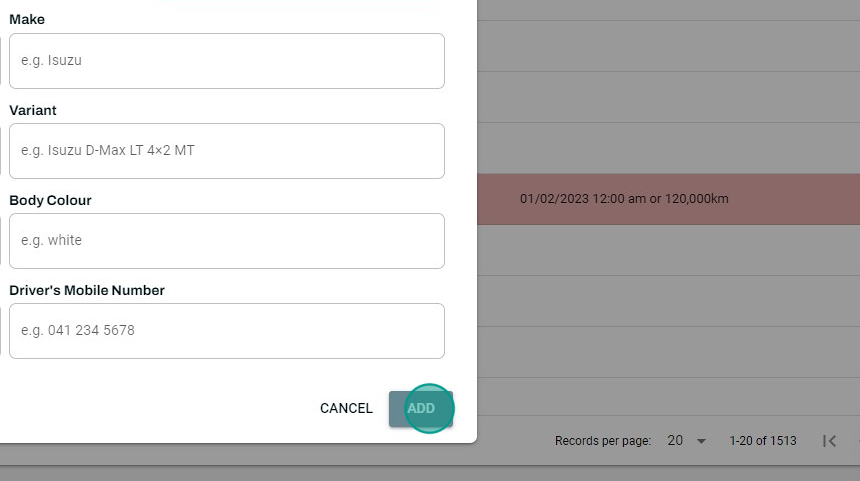
- Click the Add button on the bottom right to add the asset to your fleet
TIP
Whilst not all fields are mandatory, inputting accurate and available details is vital to ensuring high-quality data. This will assist in keeping well-maintained and safely operated vehicles, allowing staff to provide support and assistance and enhance overall organisational performance.
Mass Import Assets
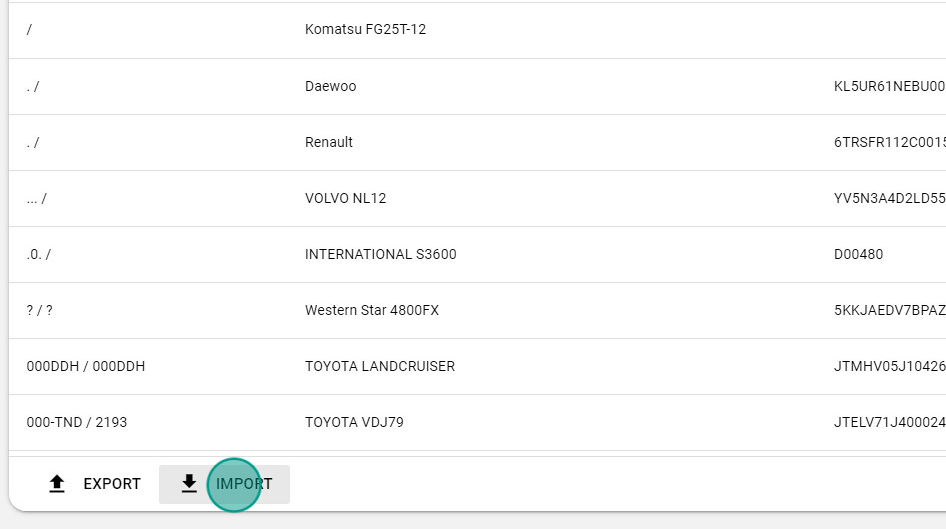
- Select the IMPORT button on the bottom of the assets page
- The Asset Import dialog will open up. Select the DOWNLOAD TEMPLATE option on the left
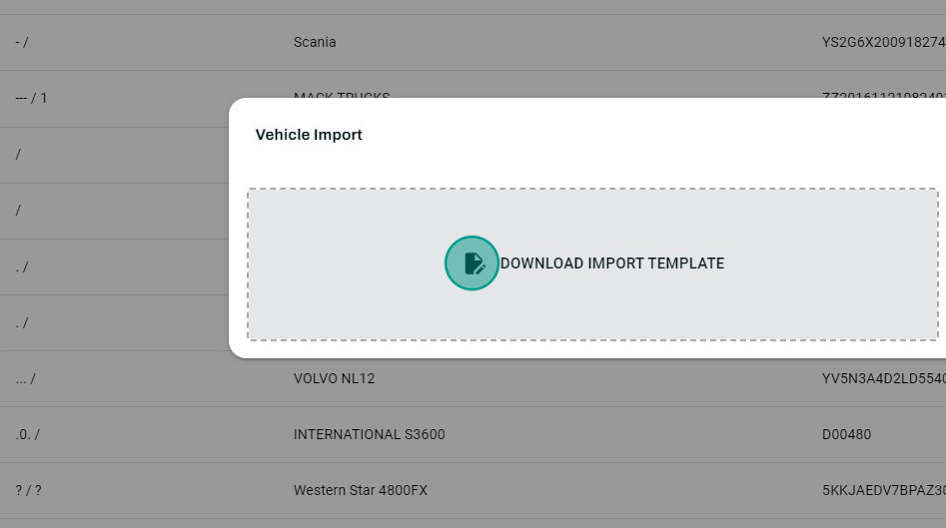
A .xlsx file will download
Open the file and fill up the columns accordingly
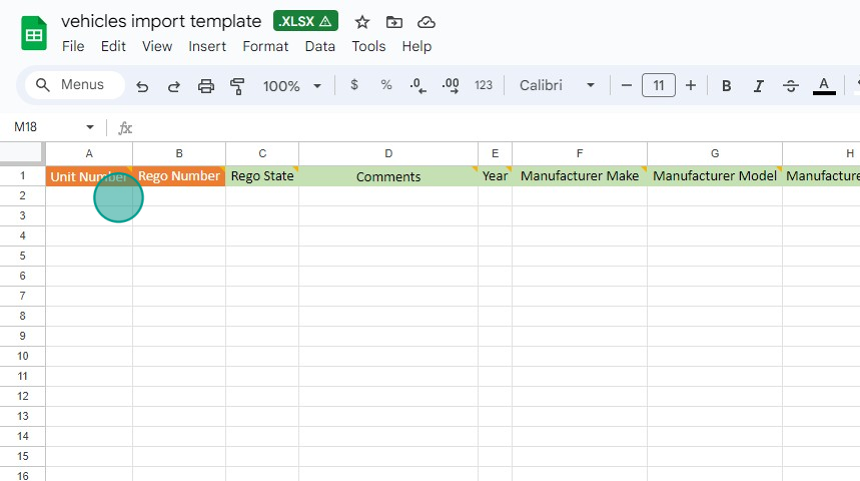
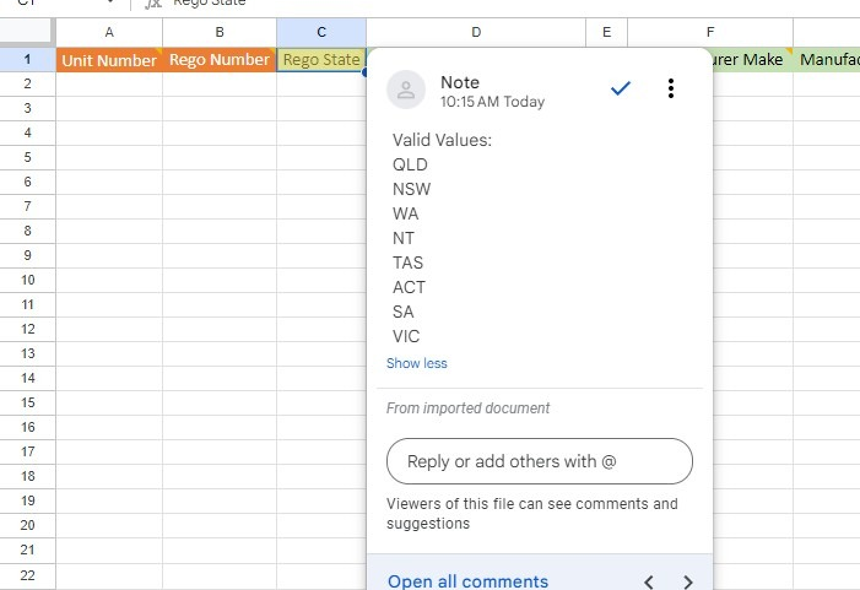
Alert: Pay attention to the column header rules to ensure a smooth upload process. For example, all state column input should be capitalised QLD, NSW, ACT etc.
Once you are satisfied with the data of your fleet on the spreadsheet, save and ensure the file is a .csv / .xls / .xlsx format
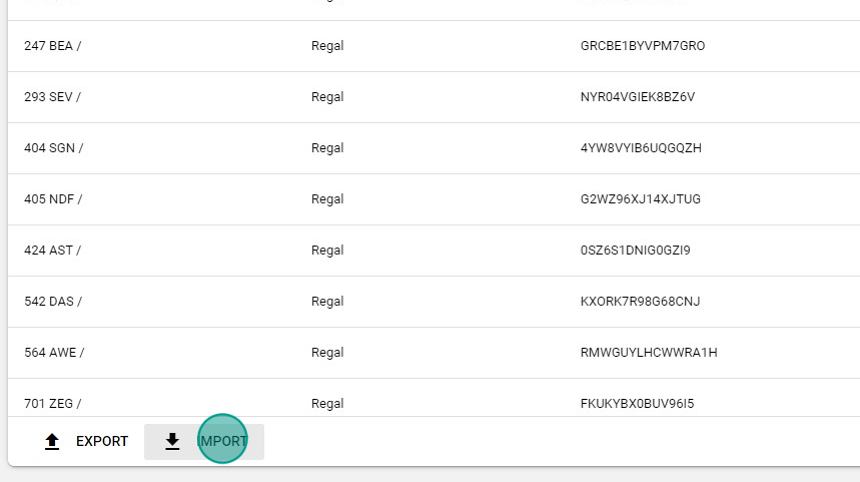
Go back to Assets page and select the IMPORT option at the bottom of the assets page
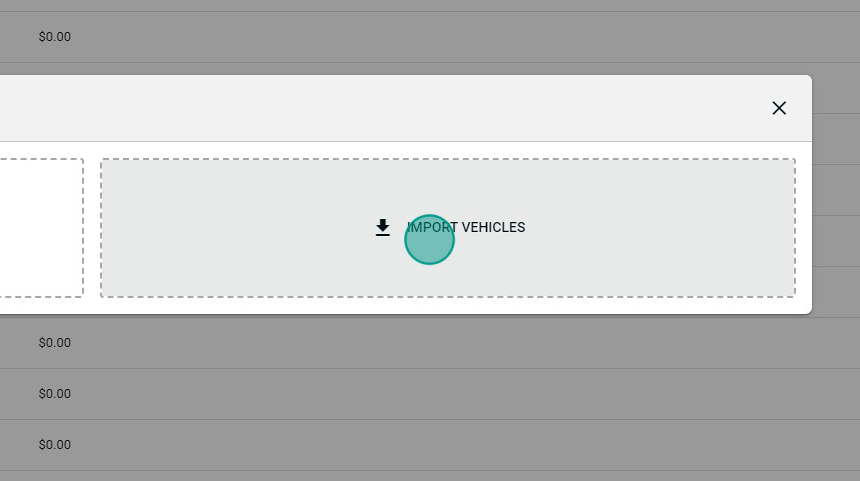
- The Asset Import dialog will open up. Select the IMPORT VEHICLES option on the right
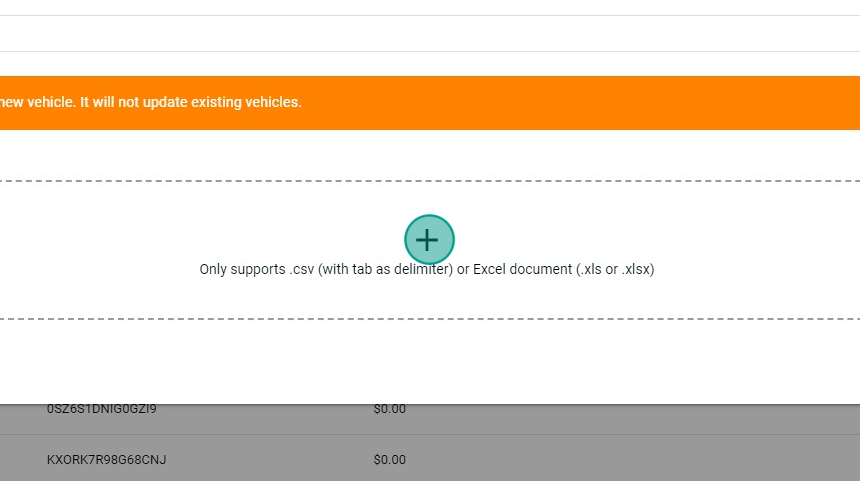
- Upload the file by clicking on the + button and selecting the file
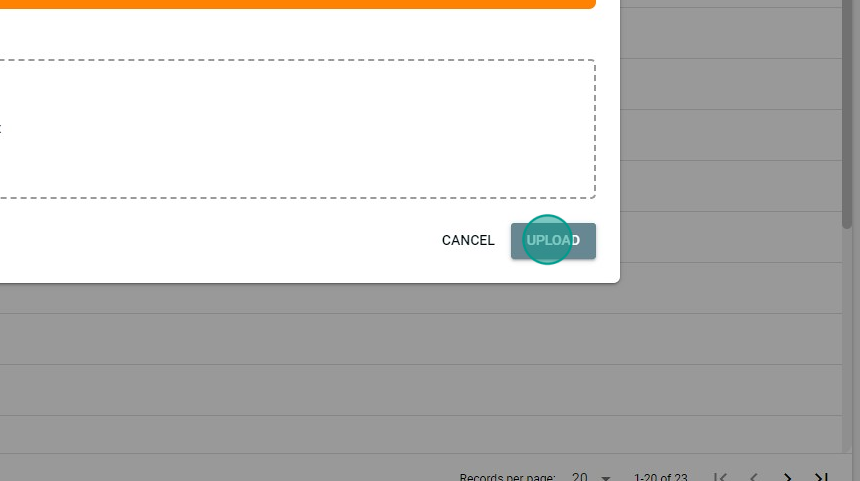
- Click the UPLOAD button on the bottom right once you have selected the file
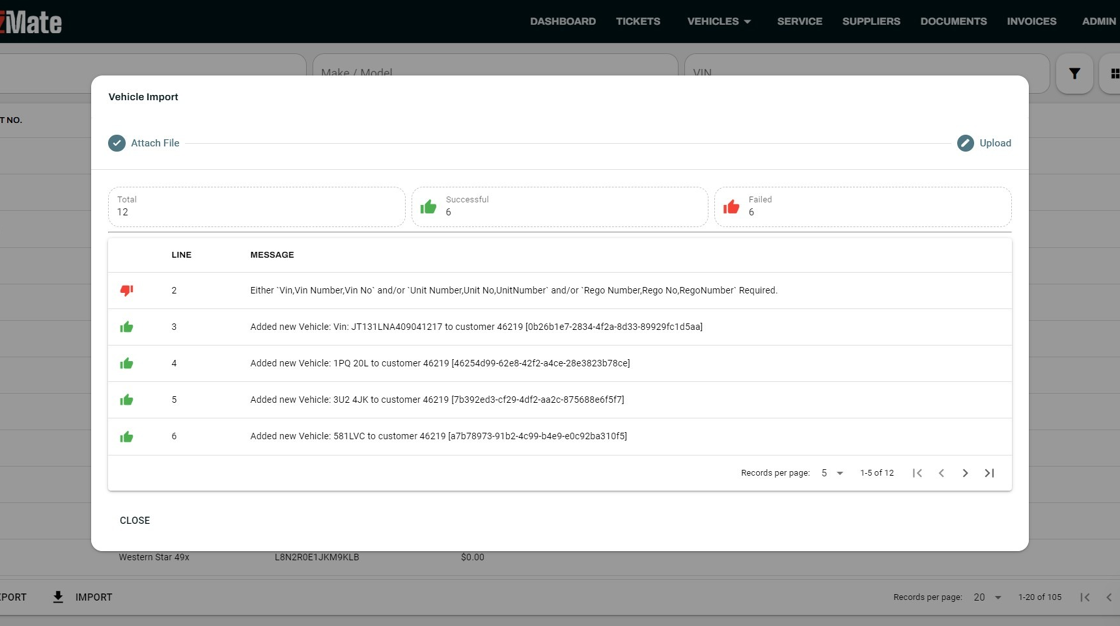
- Your uploaded data will show with a green thumbs up and is now live in Assets. Any failed uploads will show as a red thumbs down.
INFO
TMFleet does not scan for duplicates. Please ensure you remove any previously uploaded assets from your import list or these will be added to your asset database again.
WARNING
Pay attention to the column header rules to ensure a smooth upload process. For example, all state column input should be capitalised QLD, NSW, ACT etc.
Edit an asset
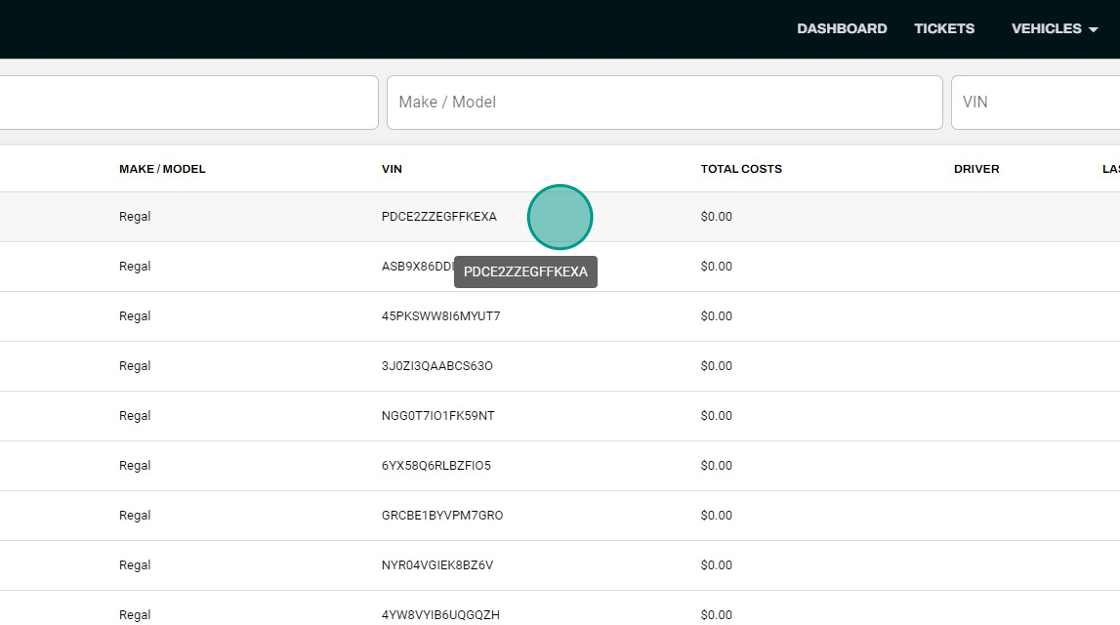
- Select the asset by clicking on it in either the table or grid view
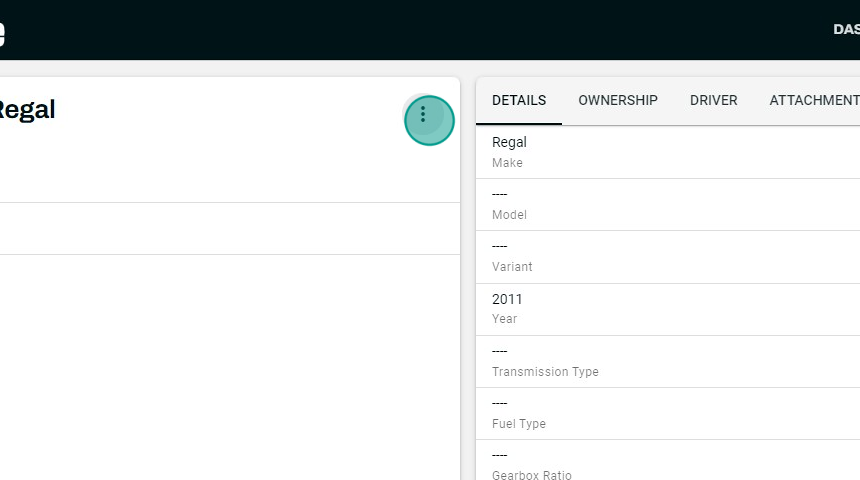
- Click on the ** ⋮ ** next to the asset unit/rego number on the top left
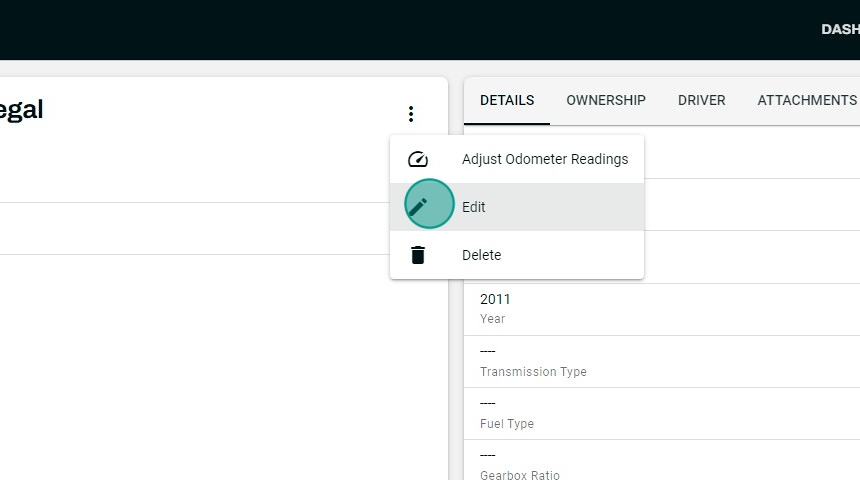
- Select the ** Edit ** option in the dropdown
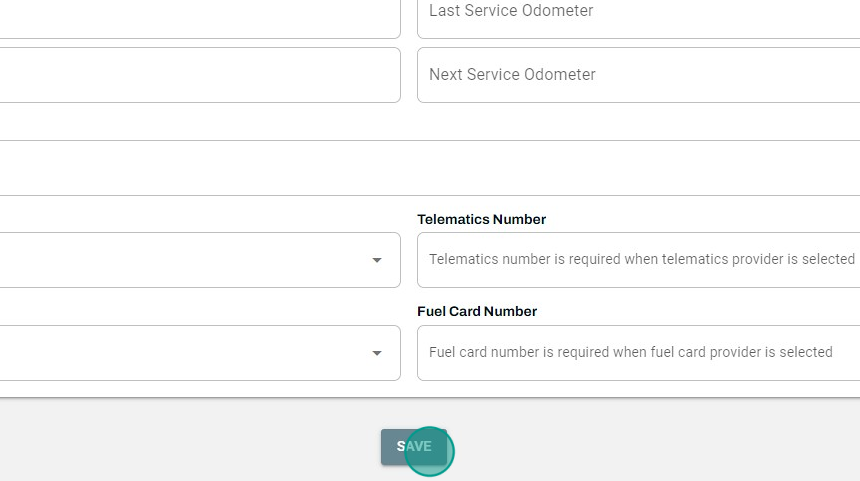
- Edit your asset details where necessary and click SAVE to save any changes
Delete an asset
- Select the asset by clicking on it in either the table or grid view

- Click on the ** ⋮ ** next to the asset unit/rego number on the top left

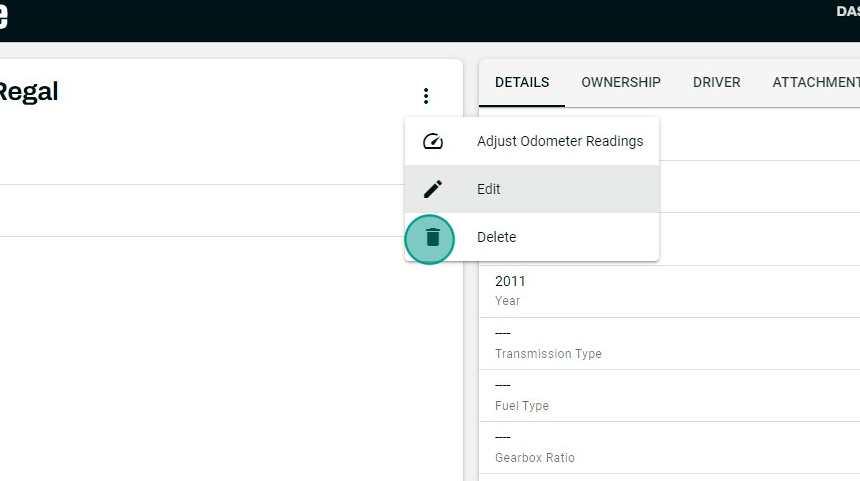
- Select the ** Delete ** option in the dropdown
- The Delete Asset dialog will open up
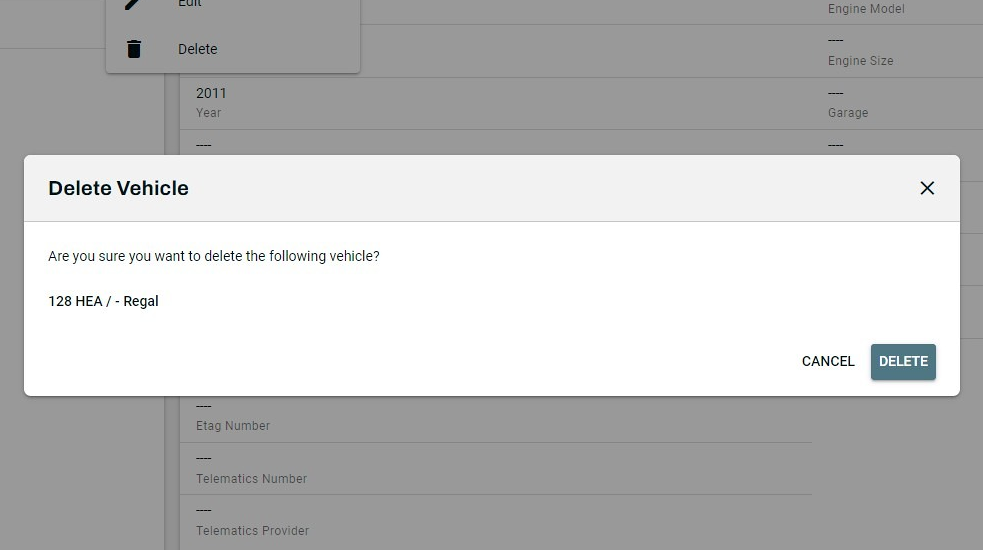
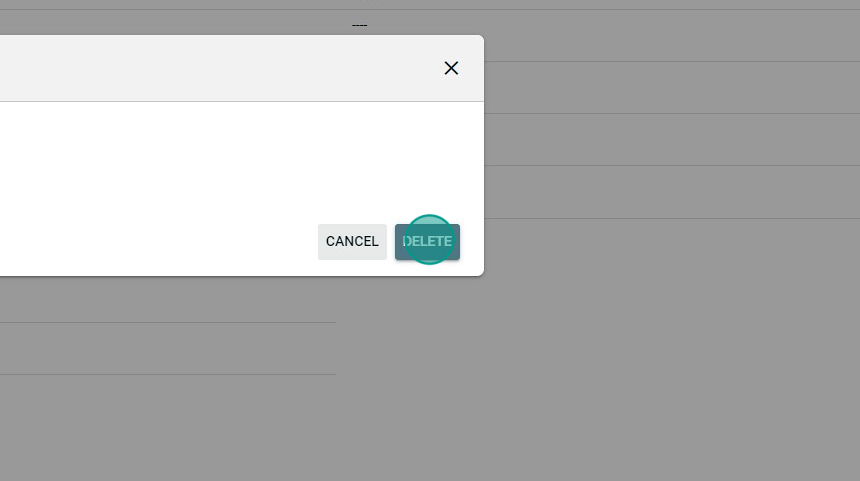
- Click the DELETE button to delete the asset from your database
Vehicles created can be linked to tickets allowing both staff and customers to easily view and track history and relevant asset parts for future reference.